
How to List Your Event on MeraEvents
Listing your event on MeraEvents is a simple, DIY process that helps you reach a wide audience, manage ticketing, and promote your event with ease. Here's a step-by-step guide to get your event live on the platform.
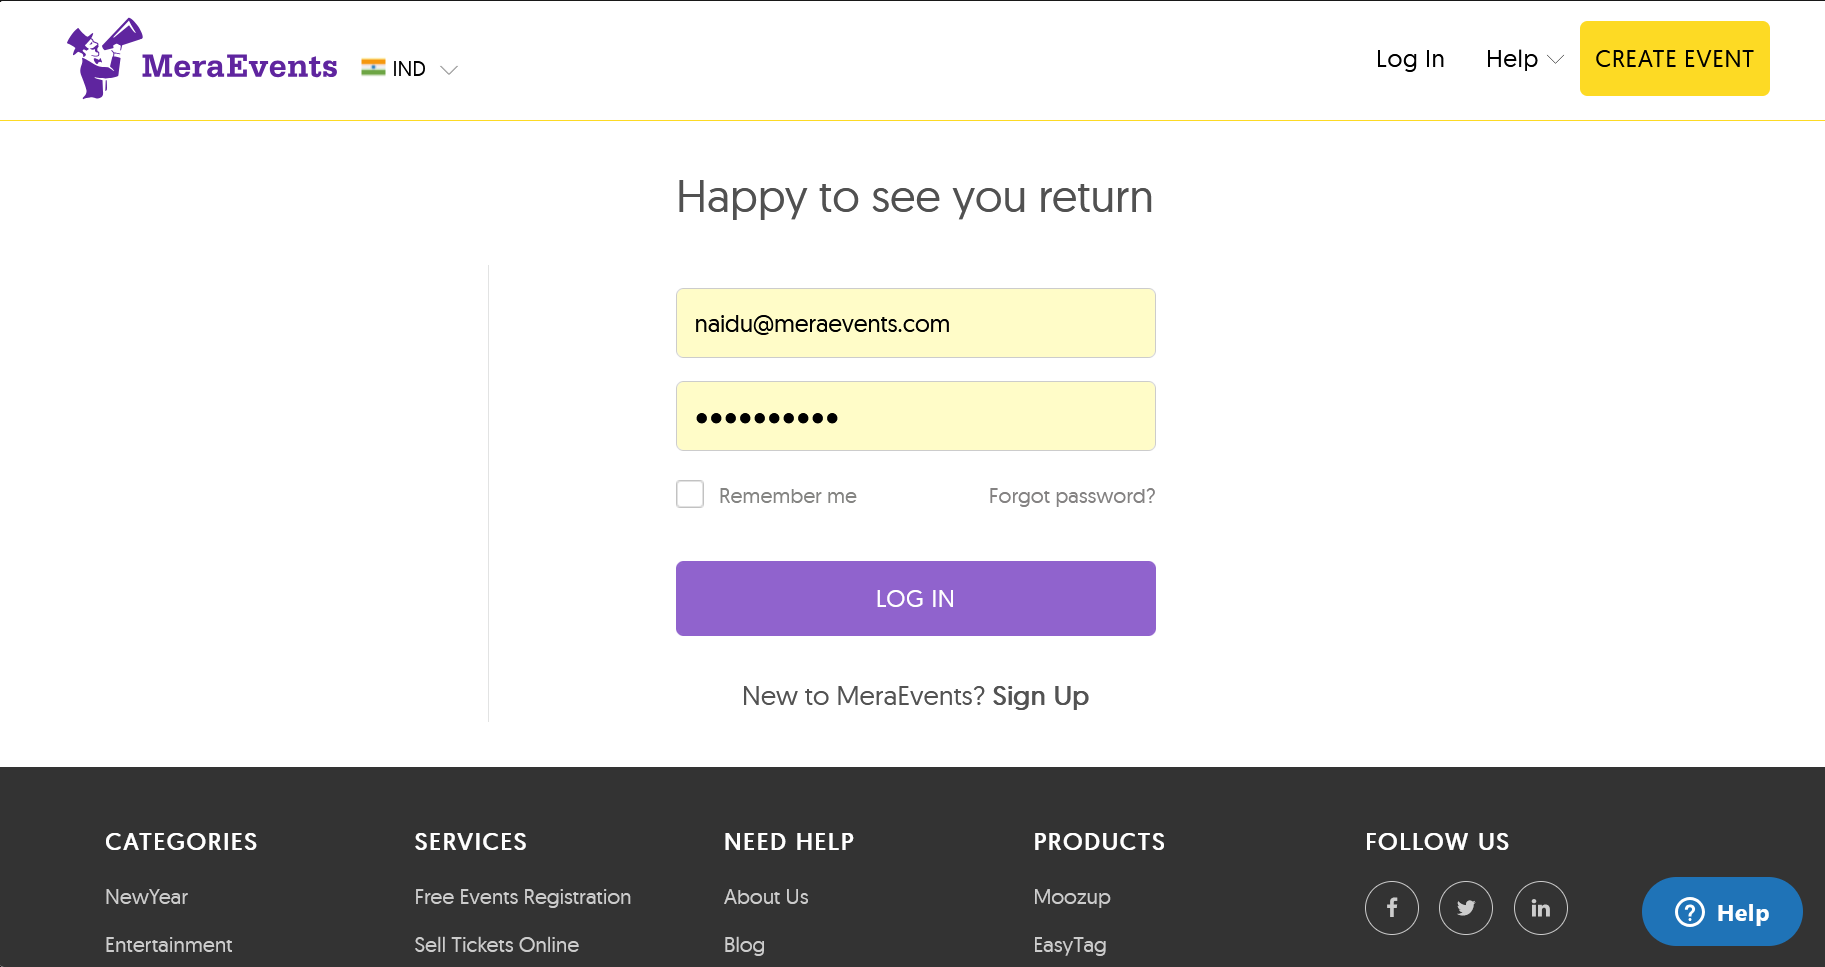
1. Register and Access the Dashboard
- Sign Up:
Visit MeraEvents and register with your official email ID. - Log In:
Access your organizer dashboard, where you can create and manage events.
2. Create a New Event
- Click 'Create Event':
Start a new event listing from your dashboard. - Enter Event Details:
- Title, Date, and Time: Clearly specify when your event will take place.
- Description: Write a compelling summary. Include what's included in the ticket, special guests, food/alcohol availability, and what makes your event unique.
- Category: Select the appropriate category (e.g., Concert, Sports, Professional, Tradeshow).
- Venue: Enter the complete venue details and location.
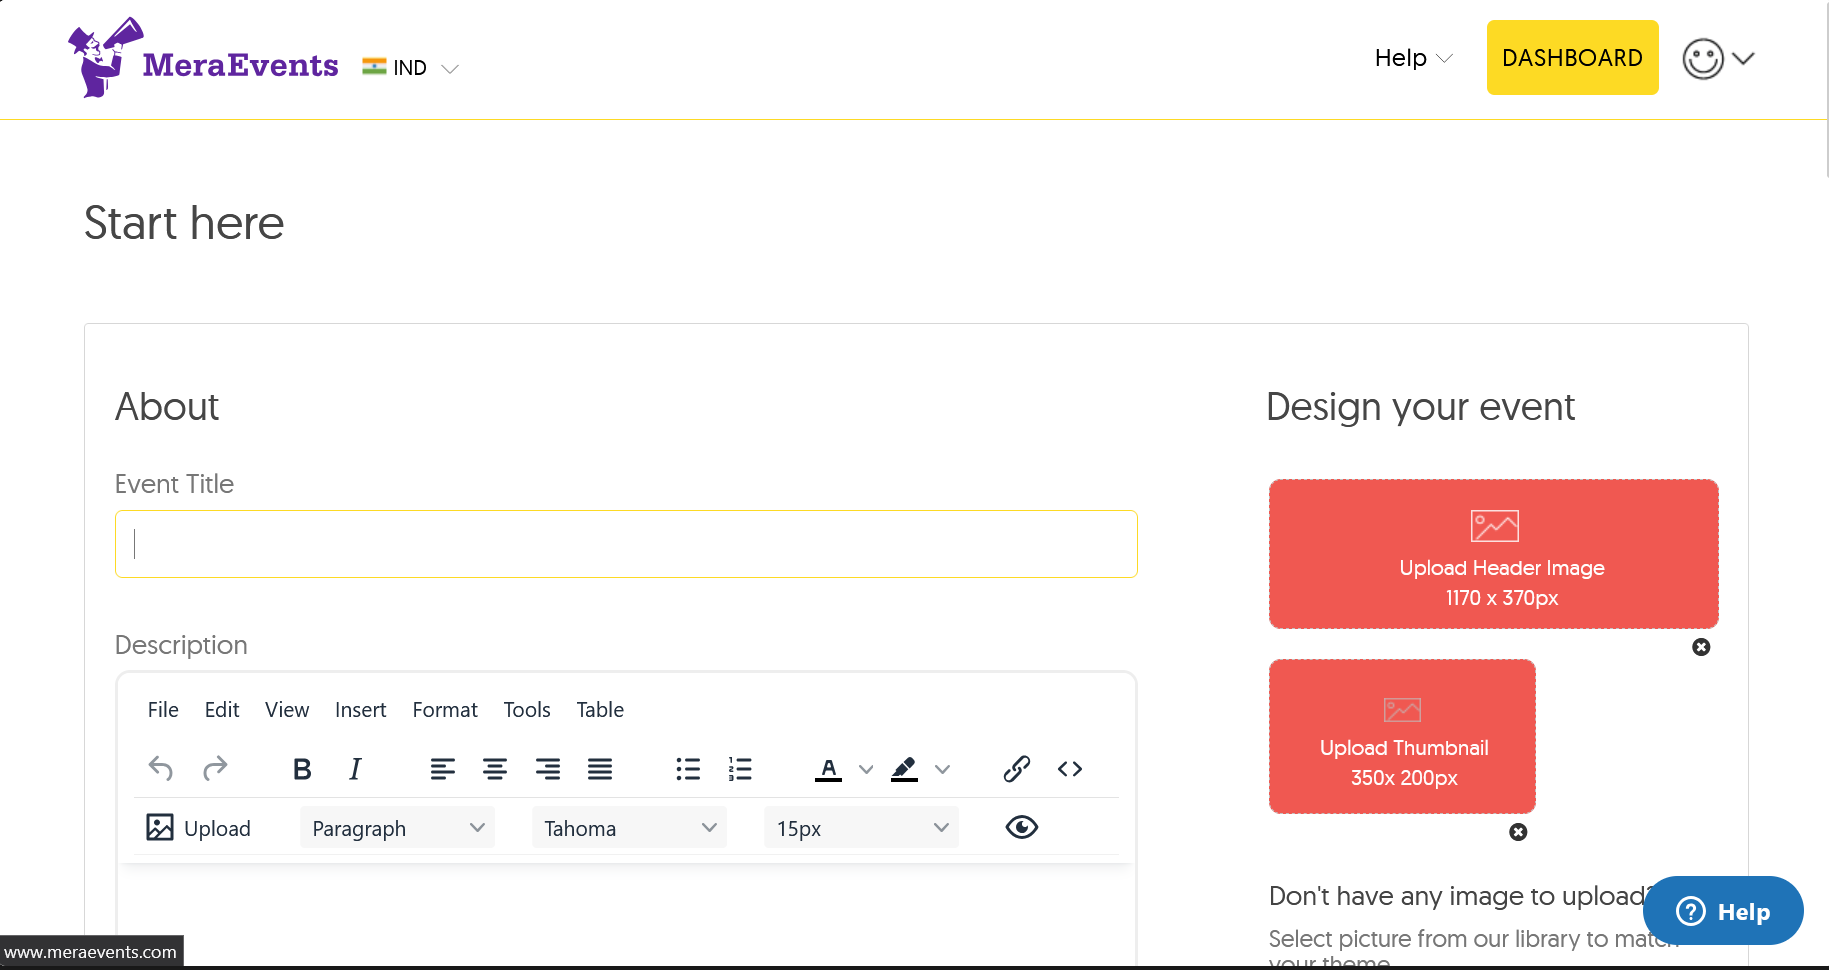
- Upload Images:
Add high-quality, clear images that fit the suggested dimensions to make your event page visually appealing.
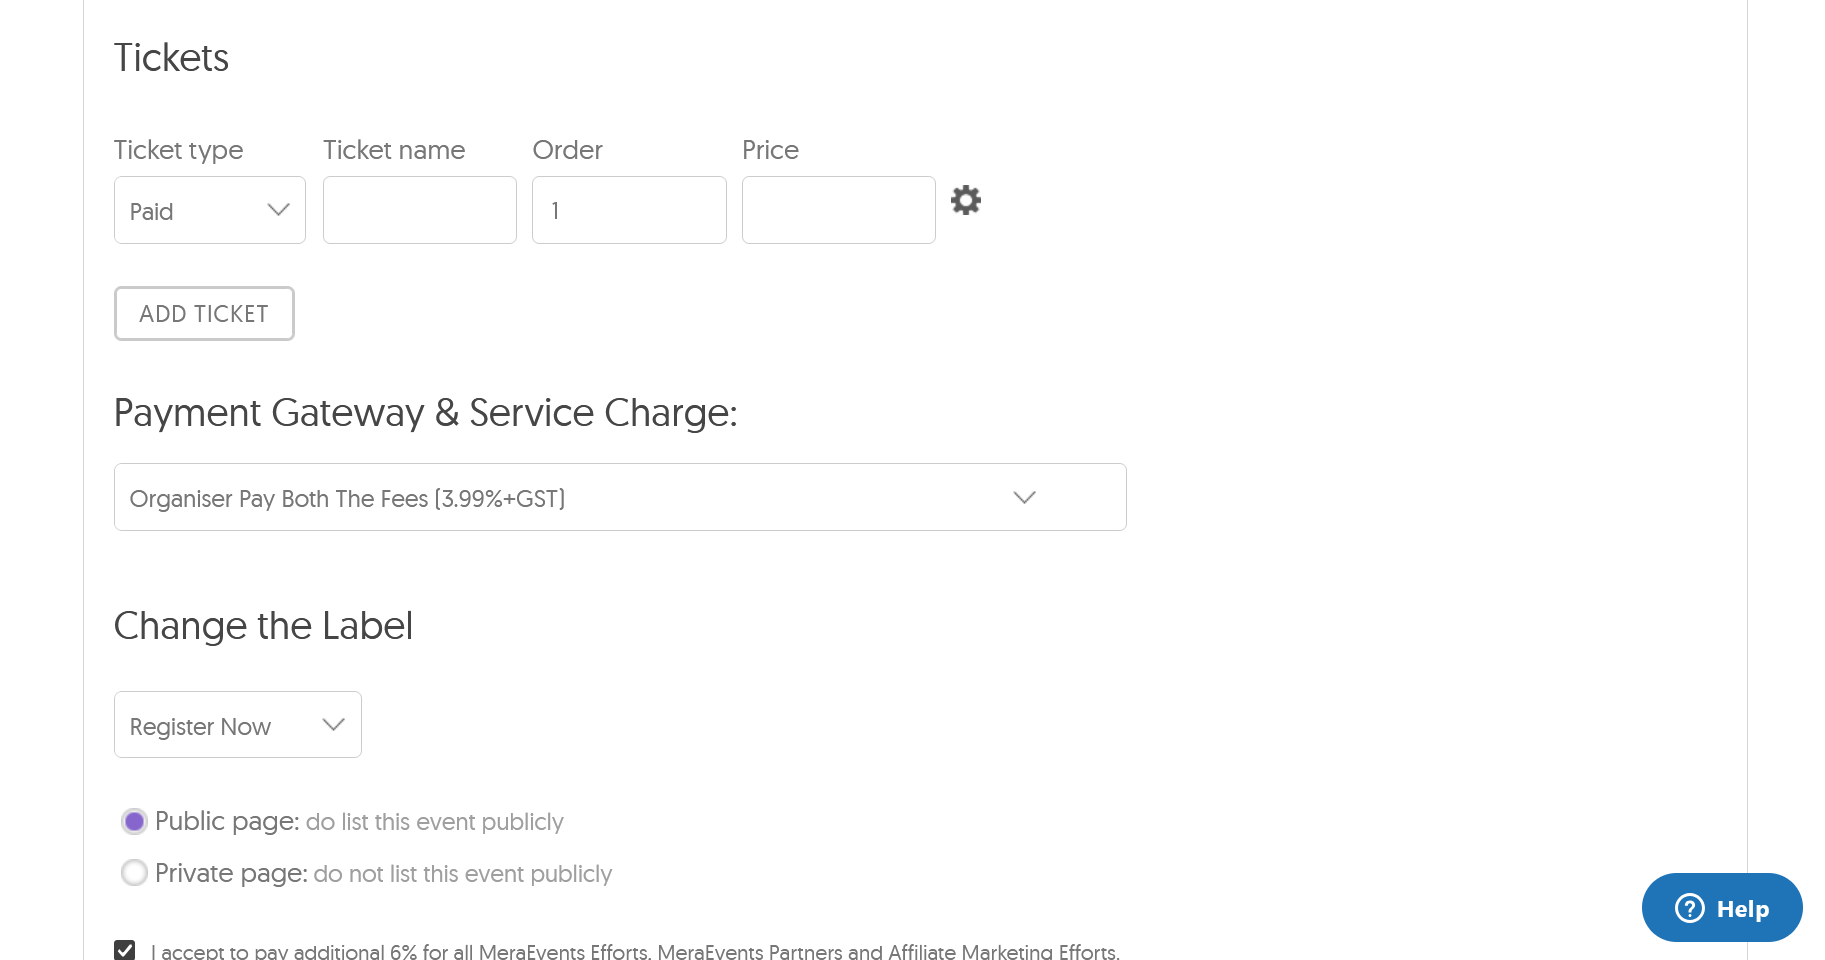
3. Set Up Tickets
- Ticket Types:
Choose from Paid, Free, or Donation-based tickets. - Pricing and Quantity:
Set prices, create multiple ticket categories (e.g., Early Bird, VIP), and specify the number of tickets available. - Discounts & Promo Codes:
Offer special discounts or promo codes to boost sales.
4. Preview and Publish
- Preview:
Review your event page to ensure all information is accurate and visually appealing. - Publish:
Once satisfied, hit the 'Publish' button. Your event will now appear in MeraEvents search results and relevant categories.
5. Manage and Promote Your Event
- Live Sales Tracking:
Monitor ticket sales and registrations in real time from your dashboard. - Edit Event Details:
Update event descriptions, add FAQs, change venue, or add ticket types as needed. Note: Some fields (like event URL and ticket settings) cannot be changed once tickets are sold. - Team Management:
Add team members and assign roles for collaborative event management. - Analytics:
Access detailed reports on attendance, ticket sales, and audience engagement. - Promote:
Use MeraEvents' customizable promotional packs to boost your event's visibility.

6. Additional Features
- Custom Registration Fields:
Collect attendee information tailored to your event. - Multiple Payment Gateways:
Enable various payment options, including international gateways, for attendee convenience. - Ticket Widget:
Sell tickets directly from your own website using the MeraEvents Ticket Widget-no redirection required. - Terms & Conditions:
Add event-specific terms that will be displayed on your event page.
7. Fees and Support
- Free Listing:
Listing your event is free. Charges apply only on tickets sold:- 1.99% payment gateway fee
- 18% GST
- Support:
For setup or promotional assistance, consult MeraEvents' detailed guides or contact the organizer support team.
Tip: For best results, use clear images, detailed descriptions, and leverage all dashboard features to maximize your event's success!


